


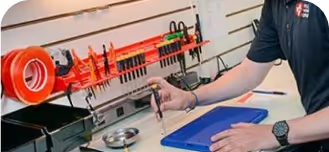
Game Console Repair You Can Count On
Whether your Nintendo Switch, PS5, or Xbox One is acting up, CPR Cell Phone Repair has you covered. We specialize in game console repairs, handling issues like:
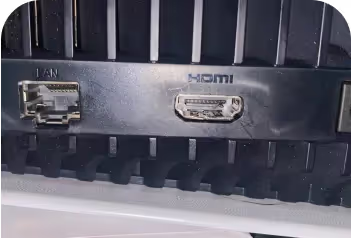
HDMI Port Repairs for clear video output.
If your device isn’t displaying a picture or keeps losing signal, a damaged HDMI port could be the cause. CPR Cell Phone Repair provides professional HDMI port repairs to restore a stable connection and crisp video output. Our experienced technicians diagnose the issue and repair or replace the port so you can get back to streaming, gaming, or presenting without interruptions.

Lagging or Freezing issues for smooth gameplay.
If your device lags, freezes, or stutters during gameplay, it can take the fun out of the experience. CPR Cell Phone Repair diagnoses performance issues caused by software problems, overheating, or hardware limitations and provides reliable solutions to restore smooth, responsive gameplay.
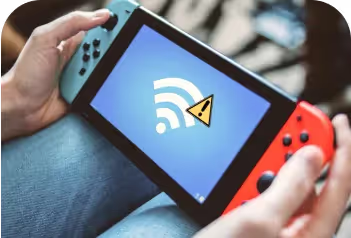
Connectivity Fixes, including Wi-Fi and controllers.
Connection issues can disrupt gaming and everyday use. CPR Cell Phone Repair fixes Wi-Fi connectivity problems and controller pairing issues to ensure a stable, reliable connection across your devices.
Bring your gaming system to life again with CPR’s Cell Phone Repairs expert technicians and fast, reliable service.
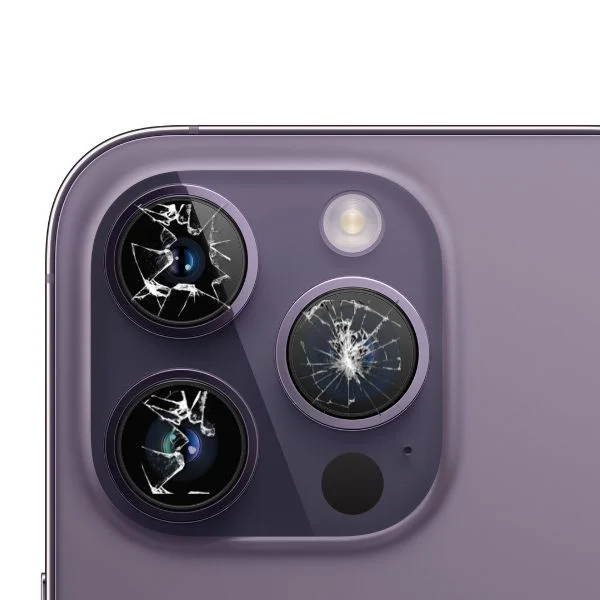
iOS/iPad Repair
Is your tablet of choice an iPad? We can help you with tablet repair for any generation of Apple mobile devices, including the iPad Air. Let us return your iPad to the high-functioning tool that you expect your Apple to be.
Android Tablet Repair
Whether you're using a Samsung Galaxy Tab, Google Pixel Slate, or any other Android tablet, we've got you covered. Our expert repair service can handle any issue, from screen cracks to battery problems, ensuring your tablet is restored to peak performance. Trust us to get you back to work or play with a smoothly running Android device, fast.

Microsoft Tablet Repair
Perhaps you use a Microsoft Surface to get significant work done. Our tablet repair service covers any Surface model. You can trust us to get you back to work in a timely manner with a smoothly running Microsoft tablet.
We specialize in:
Screen repairs for cracked or malfunctioning displays.
Battery replacements to keep your device powered.
Hardware upgrades for faster performance.
Virus and malware removal to protect your data.
Data recovery to retrieve lost files.
Connectivity fixes, including Wi-Fi and Bluetooth issues.
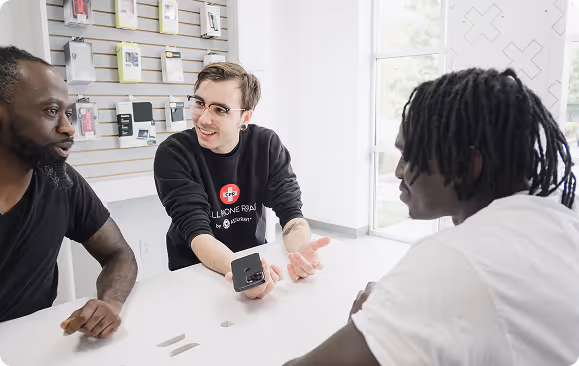
Limited Lifetime Warranty
We Stand Behind Every Repair
With our Lifetime Limited Warranty, your device stays protected long after the repair is complete. If a part we installed or the repair ever falls short, we’ll fix it at no cost—giving you confidence in the quality behind every service.
Service you can trust.
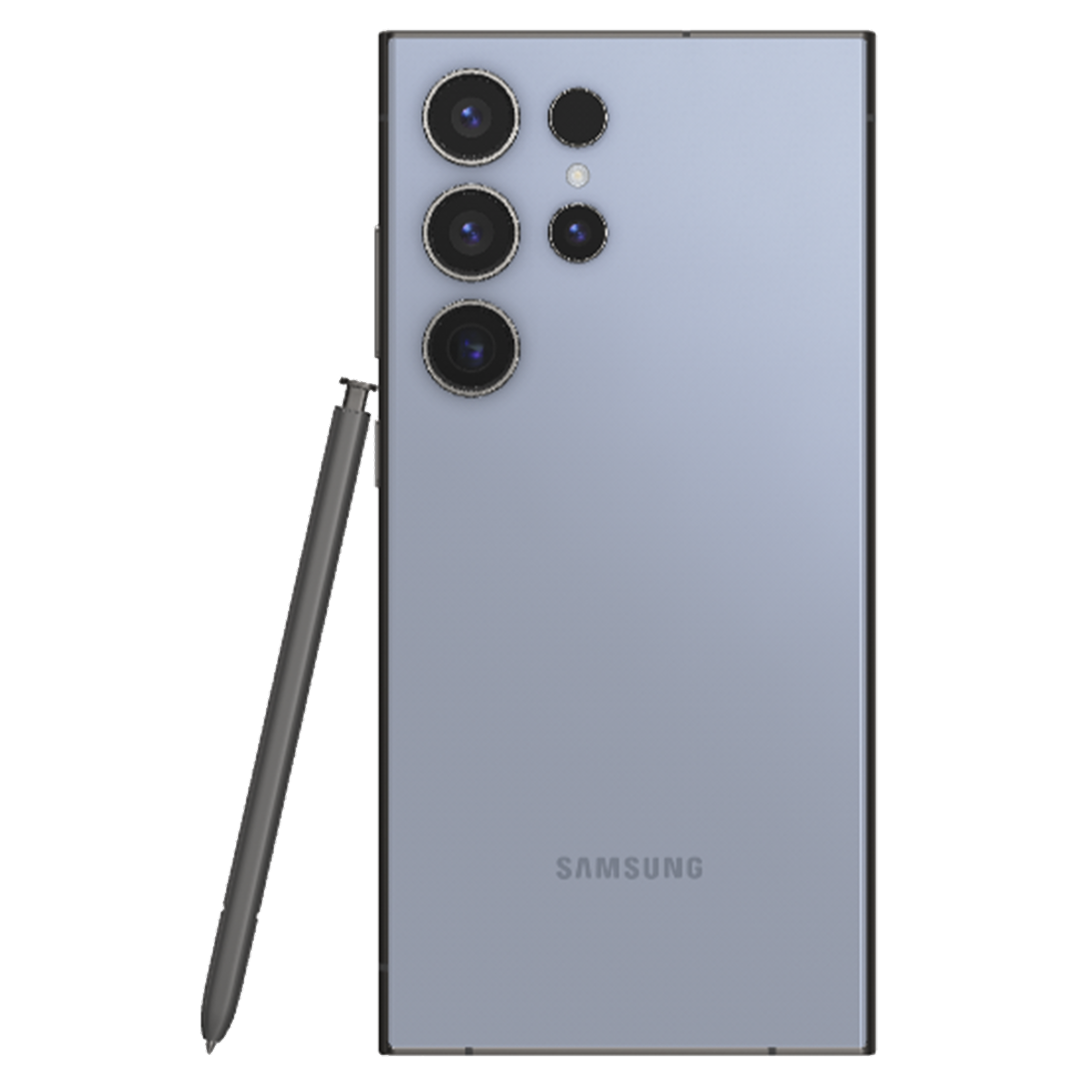
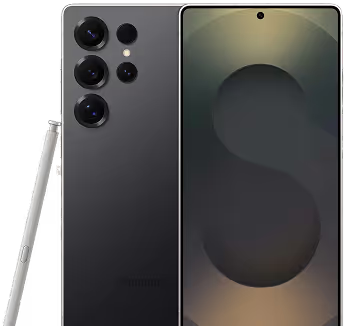
Samsung parts you can depend on.
As a Samsung Service Provider, CPR Cell Phone Repair proudly offers genuine parts on select Samsung repairs. Count on our certified repair technicians to quickly fix your broken Samsung devices using OEM parts, proprietary tools, and processes.
Available at CPR.
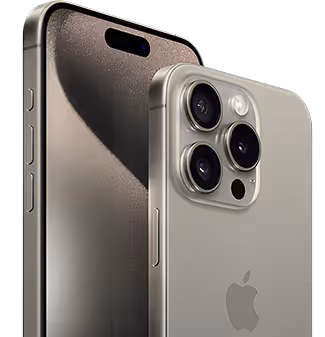
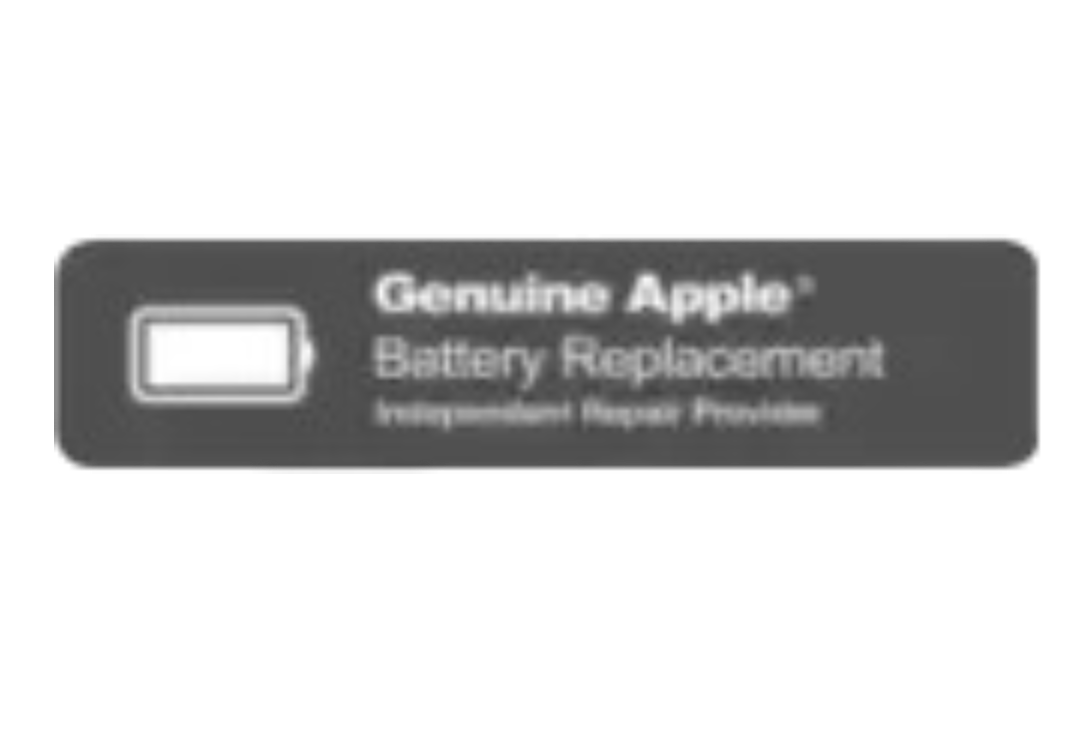
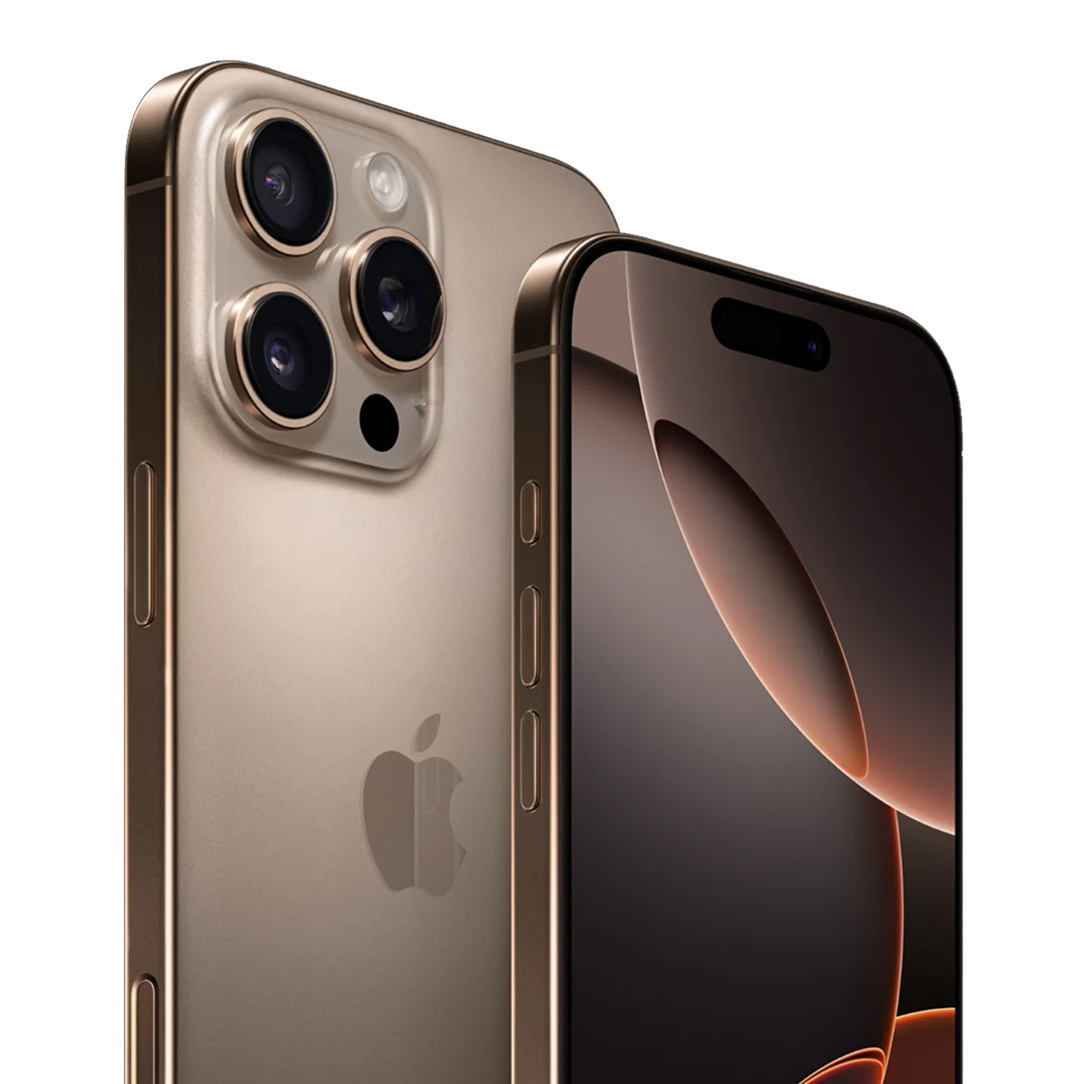
Apple® Genuine Parts
As an Independent Repair Provider, CPR Cell Phone Repair uses genuine Apple parts along with trusted diagnostics and repair processes to service select Apple devices with safety, quality, and reliability.