Computer Battery Replacement
Read more
So much of our lives are tied to our electronics these days. With a device like the MacBook Pro, there’s no doubt that you rely on it. If your logic board isn’t working, it will stop you (and whatever you use your MacBook for) in your tracks. Read on to learn how to perform a MacBook Pro logic board replacement.
The logic board is Apple’s term for the motherboard. Replacing a logic board is usually a final effort since it essentially is the computer. Depending on what model you have, it can house everything from the CPU, graphics chip, RAM, and SSD. Because of its vitality, it’s often the most expensive part of the computer.
Since it controls so many different aspects of the computer, the signs that it’s going bad can overlap with other issues. Most often, logic board problems result in your MacBook Pro booting to a grey screen. Still, the following can also indicate a logic board issue:
If your MacBook Pro isn’t turning on at all, it could be either a battery issue or a fault on the logic board. If it fails to boot up even when your lower cord is plugged in, it points to a logic board issue.
Issues with the graphics chip portion of your logic board can show up in a variety of ways. Your display may not boot up at all, behave inconsistently, scramble images, or only show a faint image. Try plugging in your MacBook Pro to an external display to determine if it’s an issue with your screen or the motherboard itself.
You may also notice that your MacBook Pro isn’t recognizing devices that you’ve plugged in or run into problems accessing WiFi, your integrated webcam, and other peripherals. You may have realized that your fan has stopped turning on, leaving your computer to overheat. Another sign can lie in strange noises or frequent error messages. Both of which can signal another hardware issue or a logic board problem.
Several things can cause your MacBook Pro’s logic board to break. Manufacturing faults, liquid damage, and weakened solder can all create logic board problems. The more graphics power that your laptop has, the more heat it generates. Whether you have a MacBook Pro Retina or a MacBook Pro 15, the constricted space within the device and souped-up graphics can lead to part degeneration over time.
Sometimes! Often, specific chips and components are at fault and can be replaced without damaging the other chips on the logic board. Apple will typically take a no-risk approach and replace the entire board. It requires electronic knowledge, experience, and micro-soldering skills to repair individual components, so we don’t recommend trying to handle your logic board repair at home.
To avoid turning your MacBook Pro into a costly paperweight, we recommend going through a qualified service provider for your logic board replacement. The turnaround time on this type of repair can vary, so be sure to discuss what to expect with your technician when you drop it off.
If your MacBook Pro is relatively new, then your logic board repair service may still be covered by Apple. A new MacBook Pro comes with 90 days of technical support and a one-year limited warranty on hardware repairs. Plus, if you opted for AppleCare+ on your Mac, your coverage is extended for two additional years. If your MacBook Pro is still covered, you can expect to pay $299 plus tax for your repair. However, logic board replacements on MacBooks that are no longer under warranty can carry a substantial fee. Since so many essential components are housed in this part of your computer, the cost can be anywhere from $500-1,100.
If you decide to complete the repair yourself, you can purchase all of the tools and parts you’ll need online. Depending on the model of your MacBook Pro, you can expect the replacement logic board to cost anywhere from $150-500. In addition, you’ll need thermal compound and specialty screwdrivers on hand.
At CPR Cell Phone Repair, we always use professional tools and high-quality parts for MacBook repairs. The total repair costs for your MacBook logic board can vary depending on the model, extensiveness of the damage, and whether the motherboard can be repaired or must be replaced. We offer free estimate requests so that you don’t find yourself stuck with a surprising bill. Plus, all of our repairs are completed by certified technicians and backed by our limited lifetime warranty.
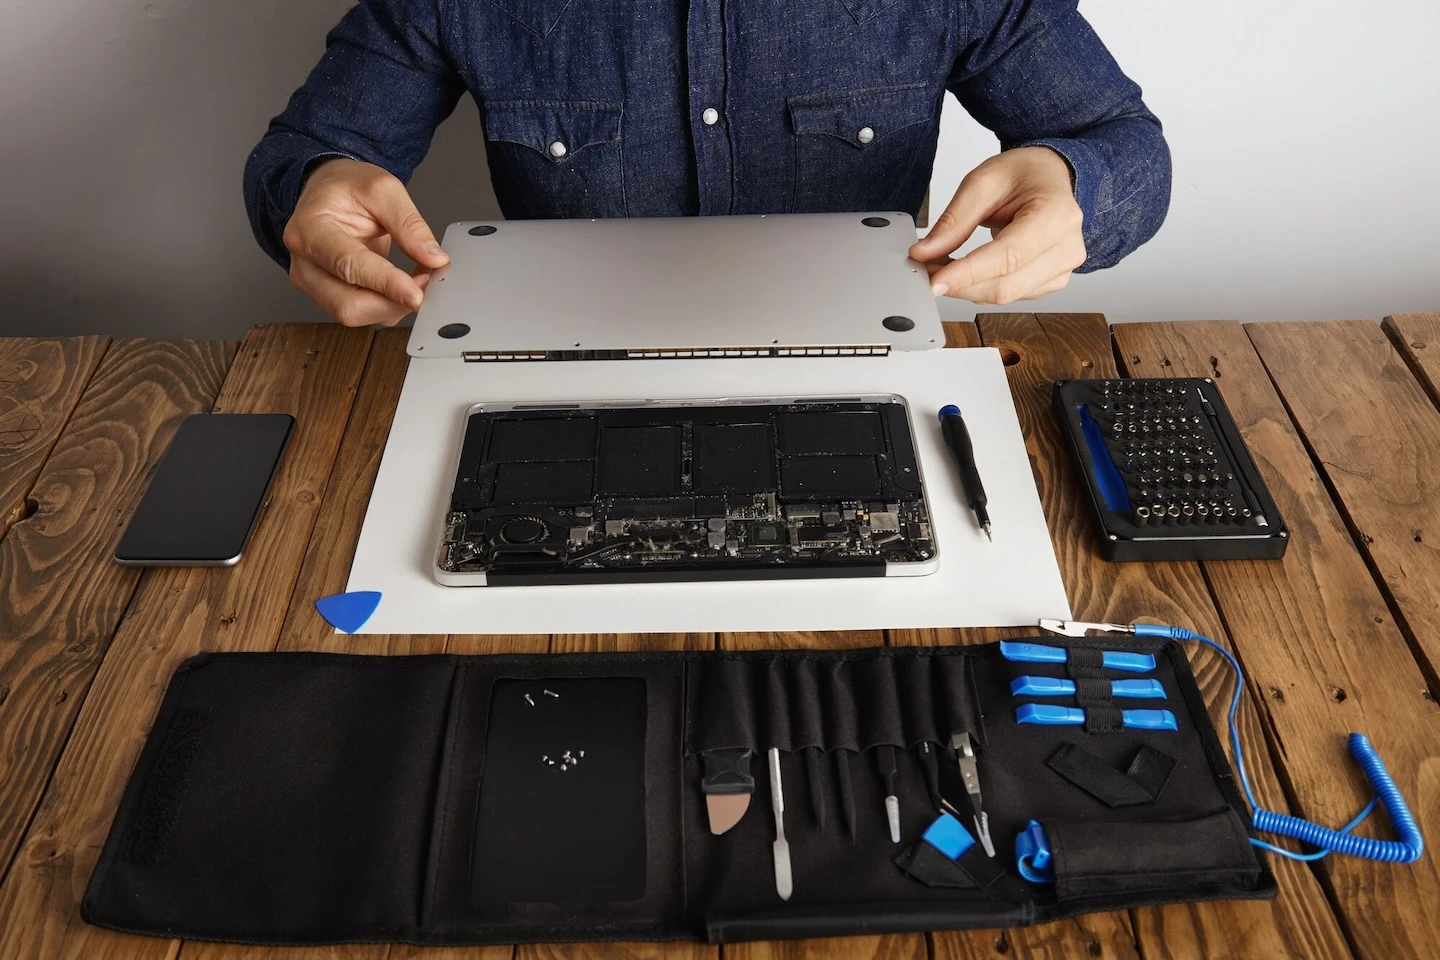
MacBook Pro logic board replacements are a complicated process and should only be attempted by those with experience with computer repair. These step-by-step instructions will walk you through how to replace the logic board on a MacBook Pro.
You will also need a new logic board for your laptop. You’ll need the complete model name of your MacBook, including the year and size, to determine the correct logic board model.
Once you have your supplies gathered, be sure that you have at least a couple of hours to complete your repair.
Logic board replacements on Apple products are complex. For expert repair services for your MacBook Pro, turn to the professionals at CPR. If you’d like to learn more about our MacBook Pro logic board replacements, contact a CPR Cell Phone Repair store near you!
Other Issues


Get It Fixed Today!
CPR Cell Phone Repair can provide holistic warranty and repair solutions for all of your business’ devices.

Buy or Sell Your Device
CPR Cell Phone Repair can provide holistic warranty and repair solutions for all of your business’ devices.


All CPR Stores are independently owned and operated and may not offer all of the repair and warranty types listed on this website. Contact your local store for their specific repair capabilities and warranty terms. MMI-CPR, LLC and CPR Stores are not liable for warranties made by third parties on specific accessories or devices sold at CPR Stores. All product and company names are trademarks of their respective holders. iPhone, iPad, iPod, iPod touch, Mac and iMac are registered trademarks and property of Apple, Inc. CPR is a third-party repair company and is not affiliated with Apple.